Working with NetBox Cloud Database Backups
Within the NetBox Labs Console you can access the backups of your NetBox Cloud database, and are able to perform the following actions:
- View a list of all available database backups
- Take an 'On Demand' backup at any time
- Download a local copy of a specific backup file
- Restore your NetBox Cloud instance from a database backup
Watch this quick video or follow the steps outlined below to get started:
View a List of Available Database Backups
-
Login to the NetBox Labs Console and then click on the three dots in the top-right corner of the instance you wish to manage and click Manage:

-
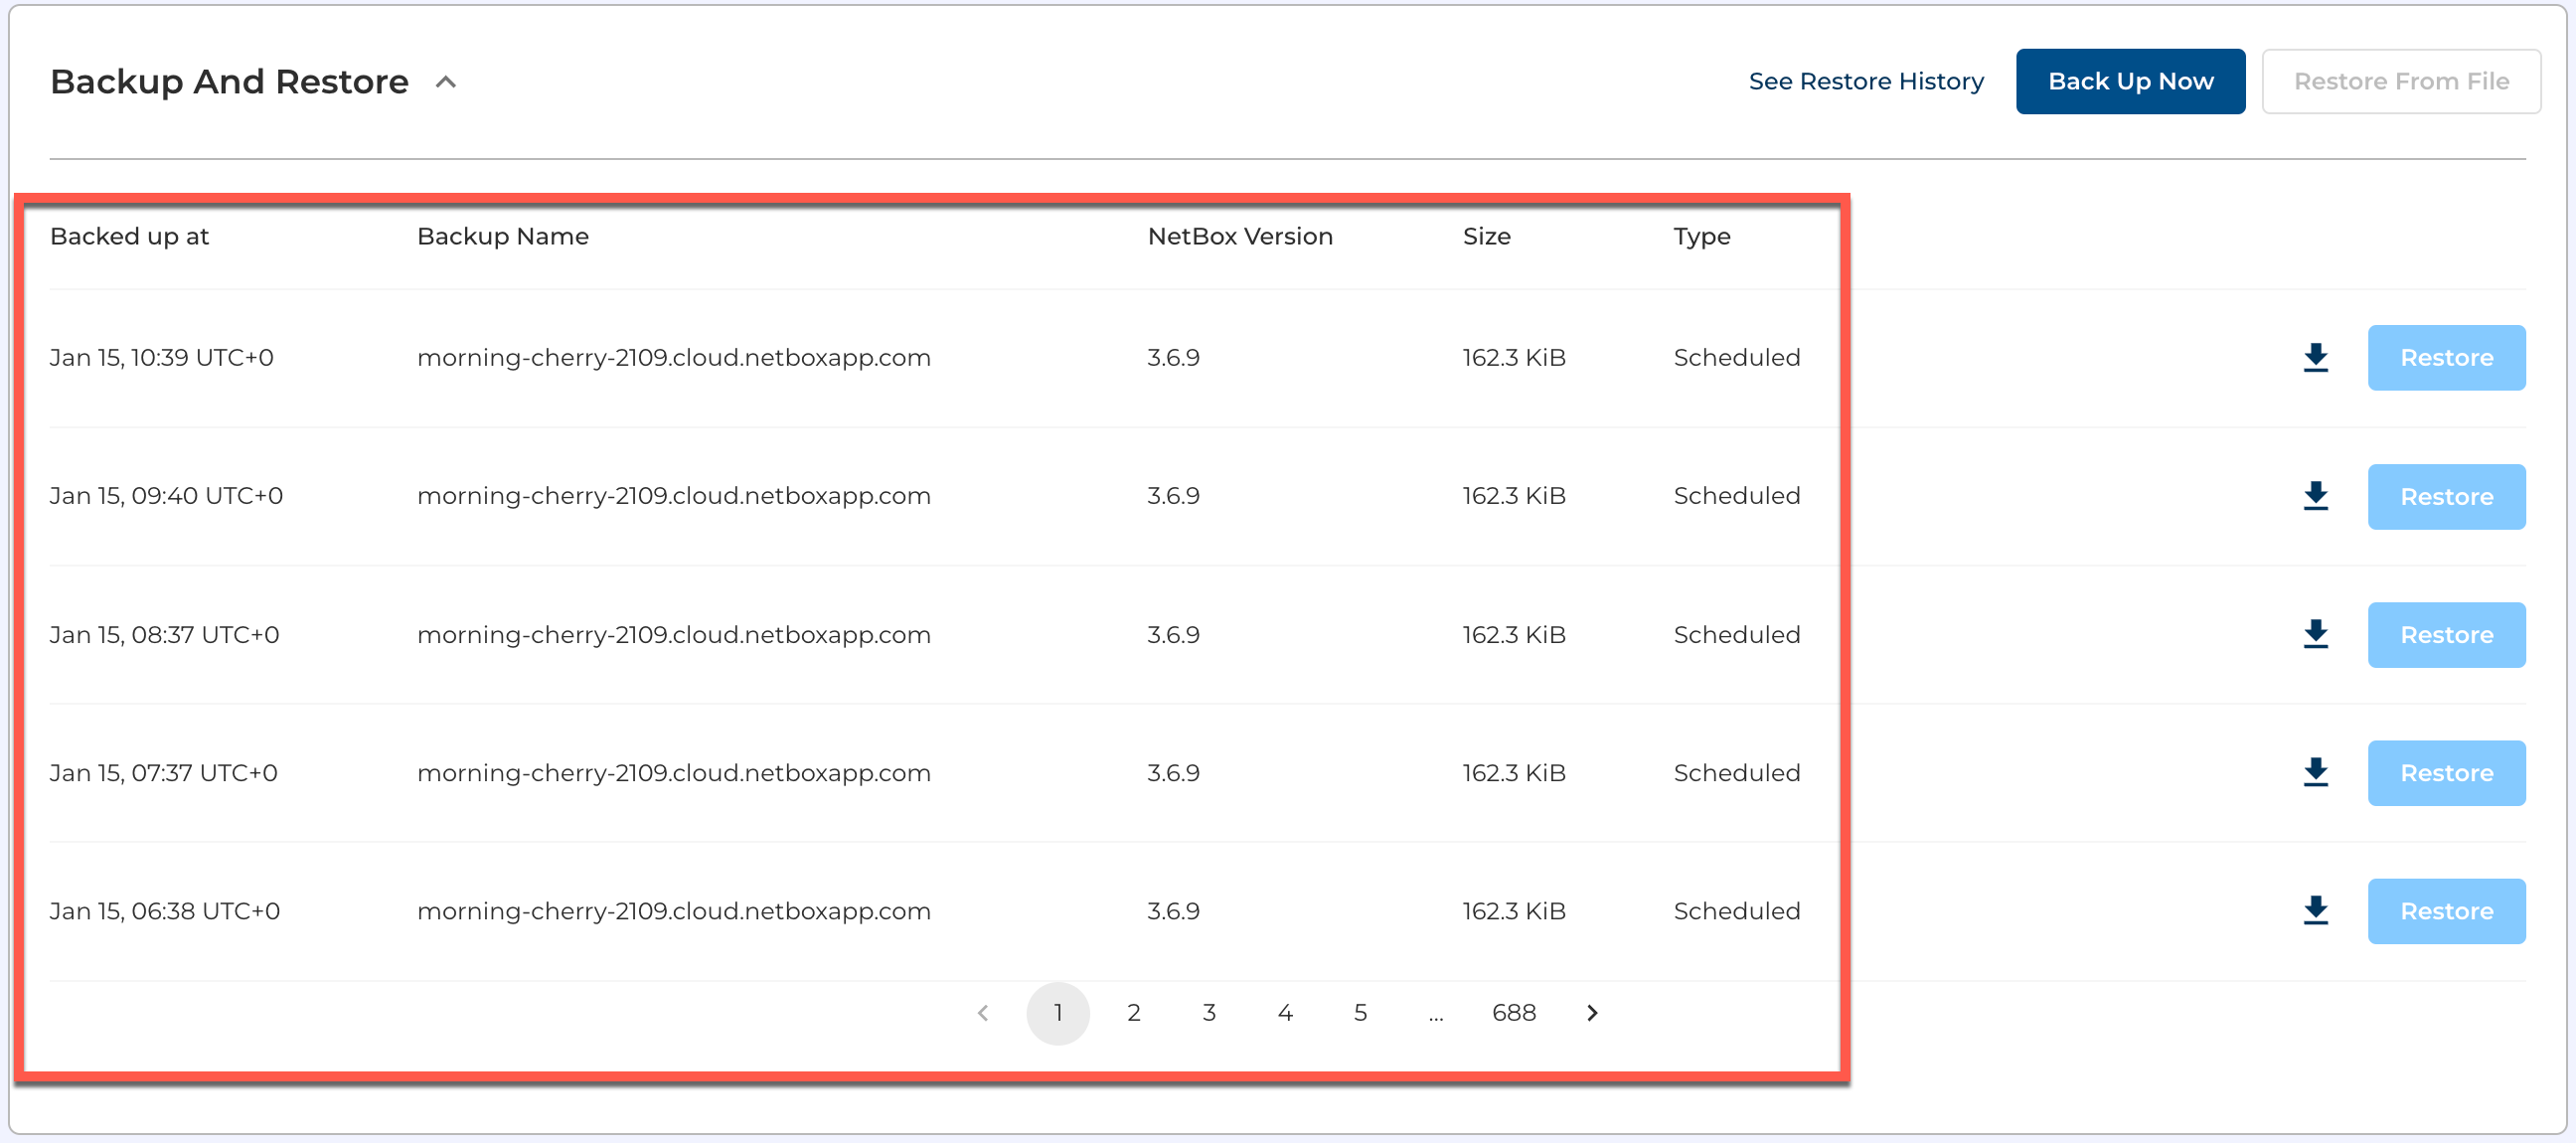
Scroll down to the Backup and Restore panel expand it to view the list of available backups:
Take an 'On Demand' Database Backup
-
From within the Backup and Restore panel click on Back Up Now, on the right-hand side:

-
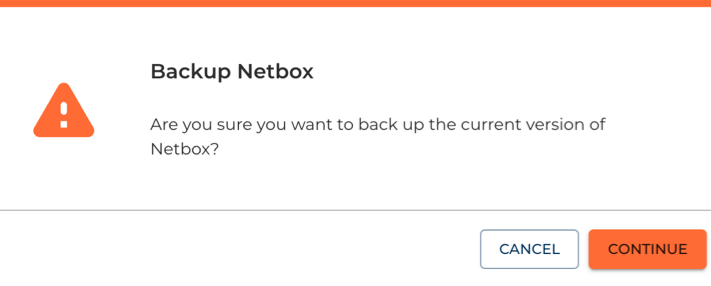
Click CONTINUE to confirm that you want to backup of the current version of NetBox Cloud
-
After a short while you will see the On Demand backup you just created appear in the list of available backups:

Download a Local Copy of a Backup File
-
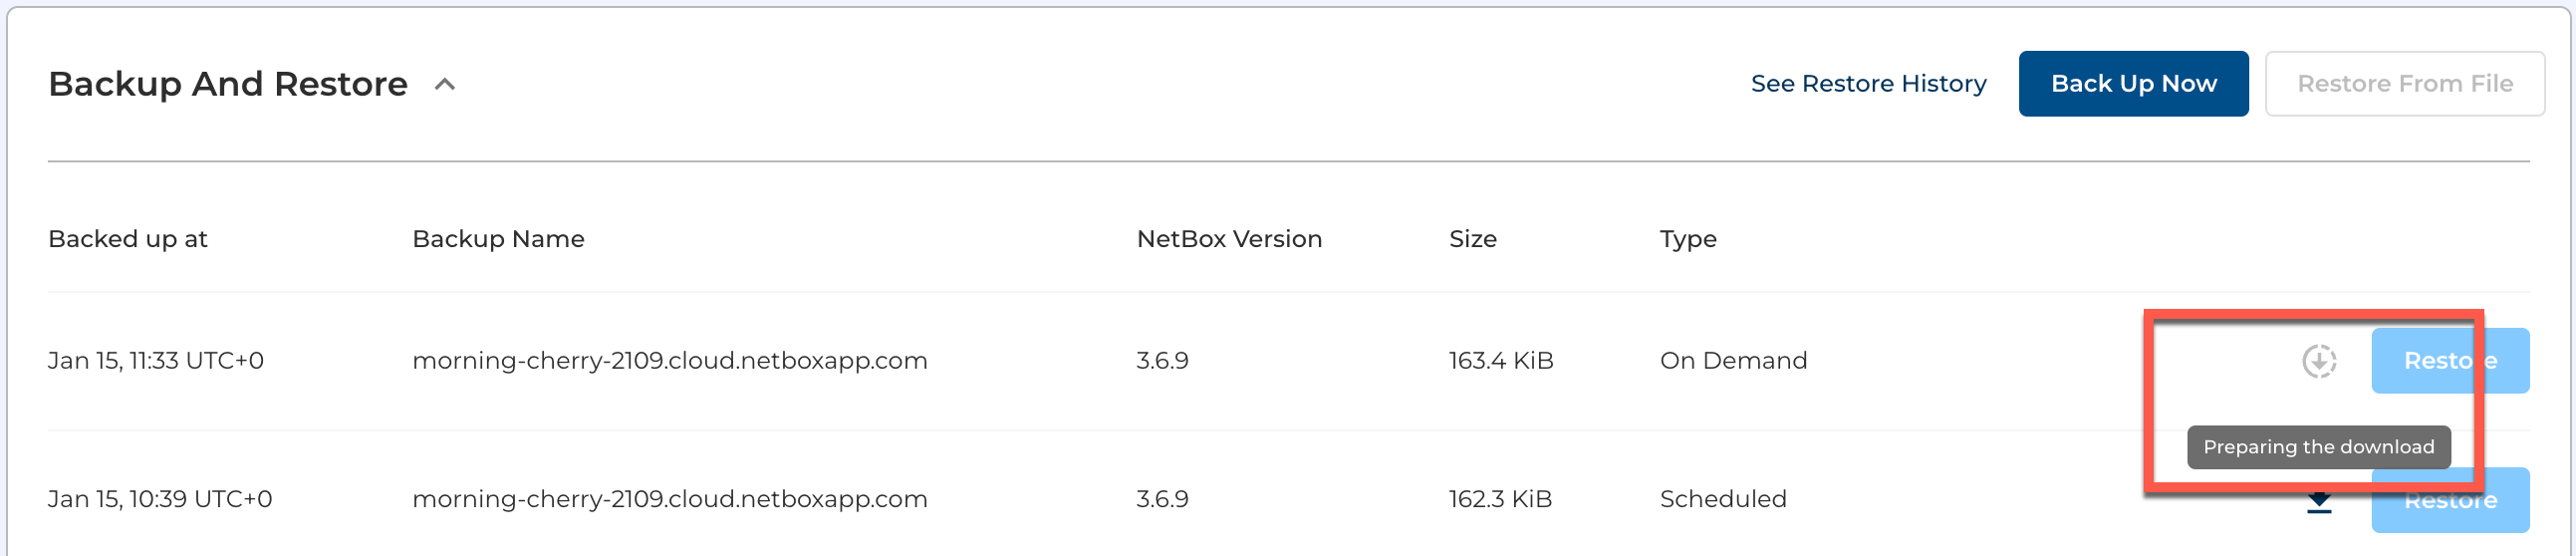
Locate the backup file you wish to retrieve, and click on the Download icon:

-
The download will then be prepared:
-
Once the backup file has been prepared it will automatically be downloaded into the Downloads directory on your local computer's file system. Note the file is a gzip compressed archive of the SQL database file so it will end in
.sql.gz.
Restore From a Database Backup File
-
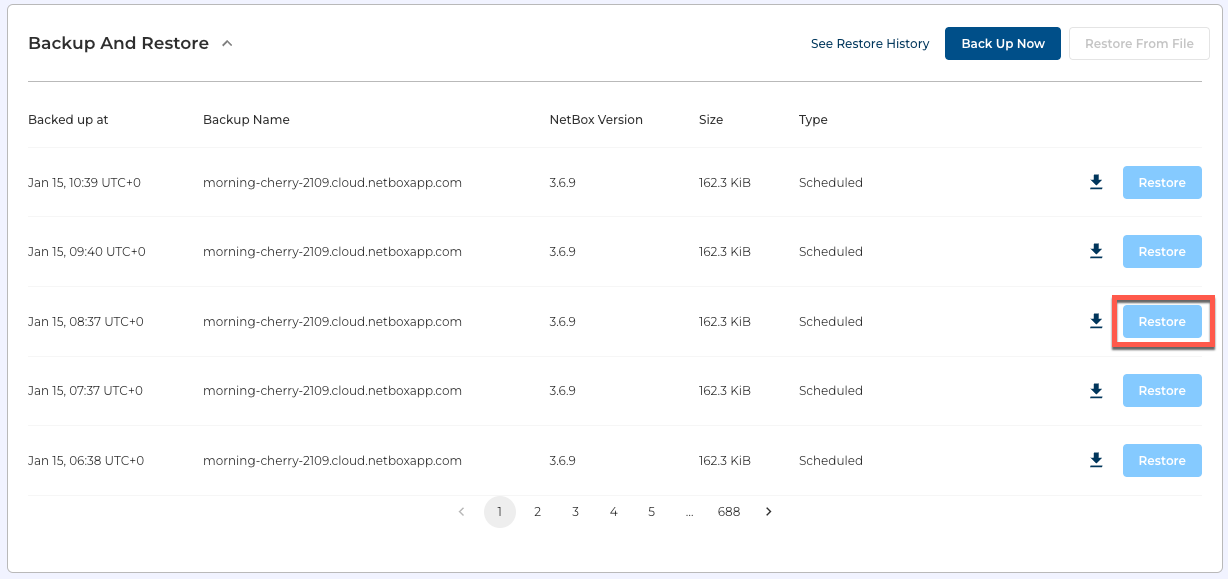
Identify the database backup you wish to restore from, and click Restore:
-
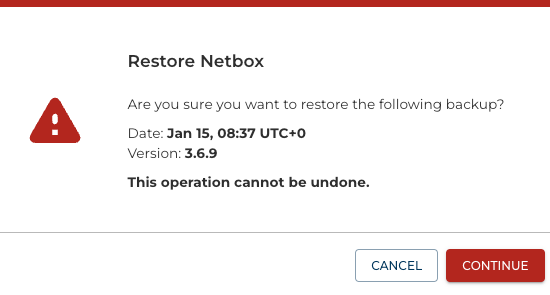
Click CONTINUE if you are sure you wish to restore the selected backup:
-
The restore process will take place in the background, and depending on the size of the database should take no longer than a few minutes to complete. Once the restore has completed, you can click on See Restore History to view the list of database restores, and you will see your completed restore listed:


-
Your database restore is now complete.
Note - Once the database restore is complete your NetBox Cloud instance will restart, and you may briefly see a
503 - Service Unavailablemessage when you browse to the Web interface. This is normal and will clear after a short while, after which you can log in again.Also, please be aware that the NetBox changelog will be empty when you first log in after a database restore.
If you encounter any issues while working with database backups raise a support ticket by emailing the NetBox Labs Support Team